CONTENTS
How to Make Enamel Pins
Enamel pins have become more than just collectibles. They are now popular as fashion accessories, brand merchandise, promotional products, and personal artwork. But how are enamel pins made?
The process of making enamel pins combines creative design with precision manufacturing. From creating the mold to adding enamel colors and applying the final finish, every step affects the quality and appearance of the finished pin.
In this guide, we will explain how to make enamel pins, including the complete enamel pin manufacturing process and the differences between soft enamel and hard enamel pins.
How Are Enamel Pins Made?
Professional enamel pins are manufactured through several steps:
- Creating the design
- Making the metal mold
- Stamping and cutting the pin shape
- Polishing and preparing the surface
- Electroplating the metal
- Filling enamel colors
- Curing and polishing
- Quality inspection
Each stage helps create a durable, detailed, and high-quality custom enamel pin.
Step-by-Step Enamel Pin Manufacturing Process
1. Create the Enamel Pin Design and Mold
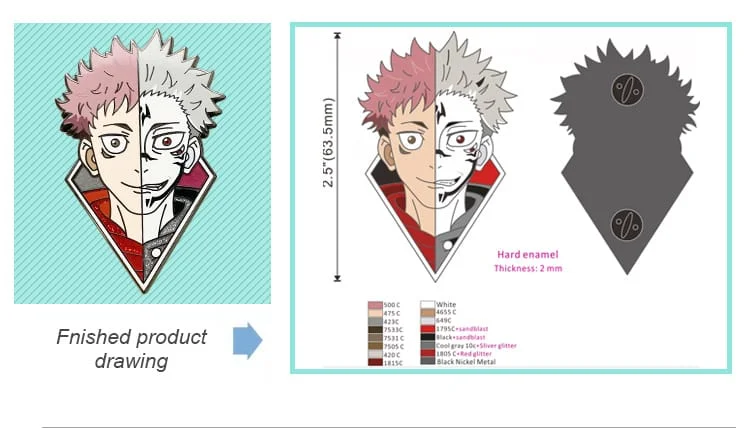
The first step in making enamel pins is creating a digital design. Manufacturers usually require vector files such as AI, EPS, or SVG formats. The artwork should include clear outlines, separated colors, and accurate details.
After approval, the design is transferred into a steel mold. The mold is created using precision engraving equipment and determines the final shape and details of the enamel pin.
A high-quality mold ensures sharp lines, consistent production, and accurate designs.
2. Stamp and Cut the Metal Pin
Once the mold is completed, it is used with a stamping machine to press the design into a metal sheet.
Common materials include:
- Iron
- Brass
- Zinc alloy
The stamping process creates the raised metal borders and recessed areas where enamel colors will be added later.
After stamping, the pin shape is cut out, and the backing post is attached to the back of the pin.
3. Polish the Metal Surface
Freshly stamped pins may have rough edges or small imperfections. Manufacturers polish and smooth the metal surface before applying plating.
This step removes unwanted burrs and prepares the pin for a clean metallic finish.
4. Apply Electroplating
Electroplating gives enamel pins their final metallic appearance.
Common plating options include:
- Gold
- Silver
- Black nickel
- Antique bronze
The plating process adds a protective metal layer and creates the visible outlines around the enamel colors.
5. Add Enamel Colors
The next step is adding enamel paint into the recessed areas of the pin.
There are two main types of enamel pins:
Soft Enamel Pins
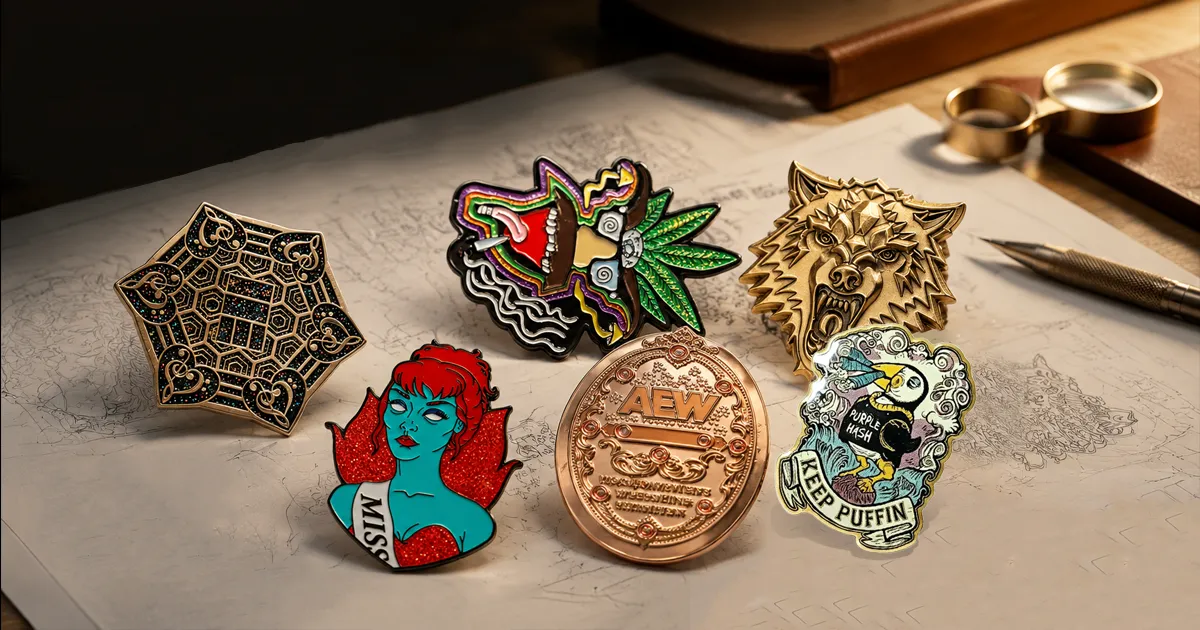
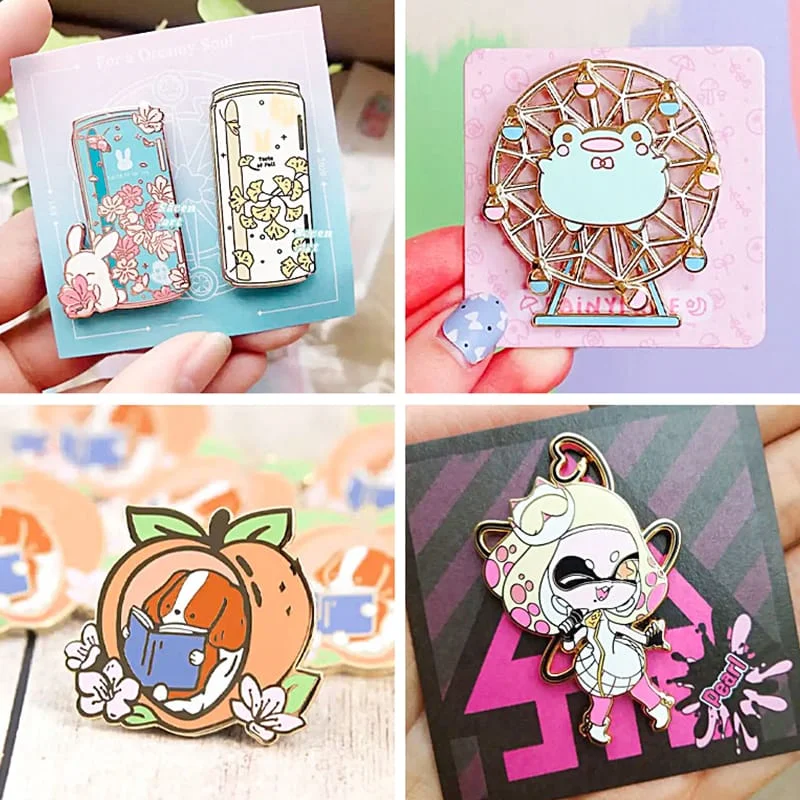
Soft enamel pins have recessed colors below the raised metal borders. This creates a textured surface where you can feel the difference between the metal and enamel.
Hard Enamel Pins
Hard enamel pins are filled completely and polished flat. The surface becomes smooth and glossy, giving them a more premium appearance.
After filling the enamel, the pins are baked at high temperatures to harden the colors.
6. Final Finishing and Quality Control
Hard enamel pins require additional polishing after curing to create a smooth surface.
Before shipping, manufacturers inspect each pin for:
- Color accuracy
- Surface quality
- Secure pin backing
- Overall durability
Quality control ensures every enamel pin meets production standards.
Can You Make Enamel Pins at Home?
Many people wonder how to make enamel pins at home. While simple DIY pins can be created using materials like resin or shrink plastic, professional enamel pins require specialized equipment.
Professional manufacturing requires:
- Industrial stamping machines
- Custom steel molds
- Electroplating systems
- High-temperature curing ovens
- Professional color matching
Because of the equipment and technical skills involved, most designers work with experienced enamel pin manufacturers instead of producing pins themselves.
Soft Enamel vs Hard Enamel Pins
The main difference between soft enamel and hard enamel pins is the surface finish.
| Feature | Soft Enamel Pins | Hard Enamel Pins |
|---|---|---|
|
Surface |
Textured |
Smooth |
|
Durability |
Good |
Higher |
|
Finish |
Raised metal lines |
Flat polished surface |
|
Cost |
Usually lower |
Usually Higher |
The main difference between soft enamel and hard enamel pins is the surface finish.
Frequently Asked Questions About Making Enamel Pins
What materials are enamel pins made from?
Most enamel pins are made from iron, brass, or zinc alloy. These metals provide strength and allow manufacturers to create detailed designs.
How long does it take to make enamel pins?
Production time depends on design complexity, quantity, and manufacturing requirements. Most custom enamel pins take 2 weeks from design approval to final delivery.
What files are needed to make enamel pins?
Manufacturers usually require vector files such as AI, EPS, or SVG. These files help ensure accurate colors and precise details.
Can I make custom enamel pins without a manufacturer?
You can create simple DIY versions, but professional enamel pins require industrial equipment and specialized manufacturing processes.
Conclusion
Learning how to make enamel pins helps designers create better products and understand the manufacturing process. From mold creation and stamping to enamel filling and quality inspection, every step plays an important role in producing high-quality pins.
Whether you are creating pins for a personal collection, a brand, or a promotional campaign, choosing the right manufacturing process will help turn your ideas into durable and attractive enamel pins.