Introduction to Enamel Pins
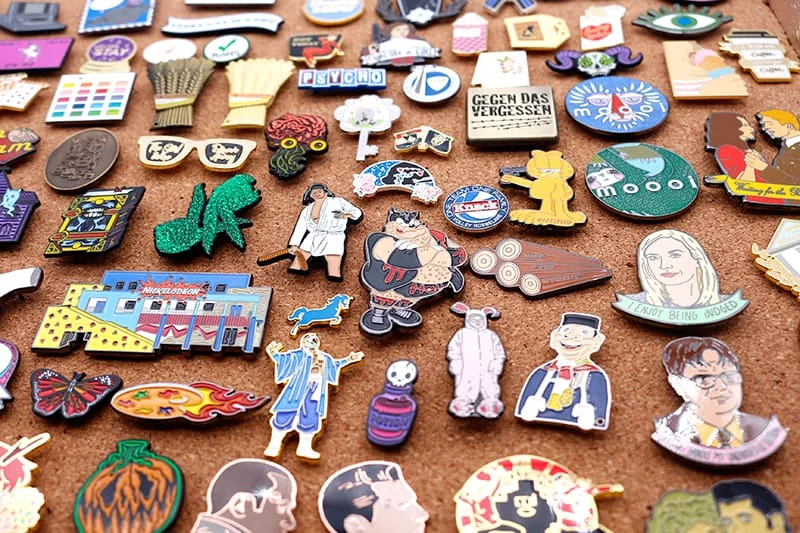
Enamel pins have become increasingly popular, making waves in fashion, art, and personal expression. These small, colorful accessories are not only fun to collect but also provide a unique way to showcase individual style. Understanding the common processes involved in enamel pin making can help you appreciate the artistry behind these tiny treasures.

The Design Phase
The first step in creating enamel pins is the design phase. Designers start by sketching ideas, often using graphic design software to refine their concepts. This phase involves selecting colors, shapes, and themes that resonate with the targeted audience. Once the design is finalized, it will serve as the blueprint for the subsequent production stages.
Production Processes
The next stage is prototyping, where a physical sample is created to evaluate the design. This prototype undergoes testing to ensure that details are captured accurately. After approval, the production process begins. Many enamel pins are made using die-striking methods, where metal is stamped into shape, followed by the application of enamel. Depending on whether the pins are soft or hard enamel, different techniques are employed to achieve the desired finish. Finally, the pins are polished, and any excess materials are removed.
Final Touches and Distribution
Once the pins are produced, they go through a quality check to ensure they meet specific standards. After passing inspection, the collection is ready for packaging. Proper packaging protects the pins during shipping and enhances their presentation. Finally, the pins are distributed to stores or sold online, available for enthusiasts to add to their collections. Understanding these key processes in enamel pin making allows buyers to appreciate the craftsmanship behind each pin.